GenApeLogo
Close sidebar
  • Home
  • editIconTextApegradientUpIcon
  • AI Content WorkspaceUpgrade
  • imageIconImageApegradientUpIcon
  • AI Video Generator
    Popular
  • additionIconAdditiongradientDownIcon
  • Pricing
Blog
  • Sign up and get 200 free Credits!
    Back to list

    Image Mosaic

    Select any area of an image to pixelate it, with square or circle shapes and adjustable pixel size

    Import Image & Mosaic Settings

    Click or drag to add an image

    Pixel sizepx
    No image uploaded yet

    Other cropping tools

    IG Post/Story Resize

    4:53:41:11.91:19:16

    Threads Post Image

    4:51:19:161.91:1

    Shopee Main/Product Image

    1:13:4

    2-Inch ID Photo

    3.5:4.5

    Passport Photo

    3.5:4.5

    Resume Photo

    3.5:4.54:5

    IG Grid Maker

    1:14:5

    Multi-Platform Resizer

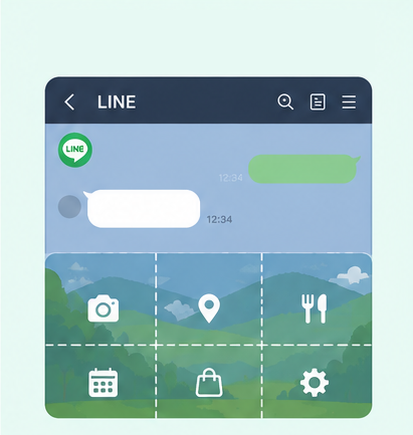
    LINE Rich Menu

    3:23:1

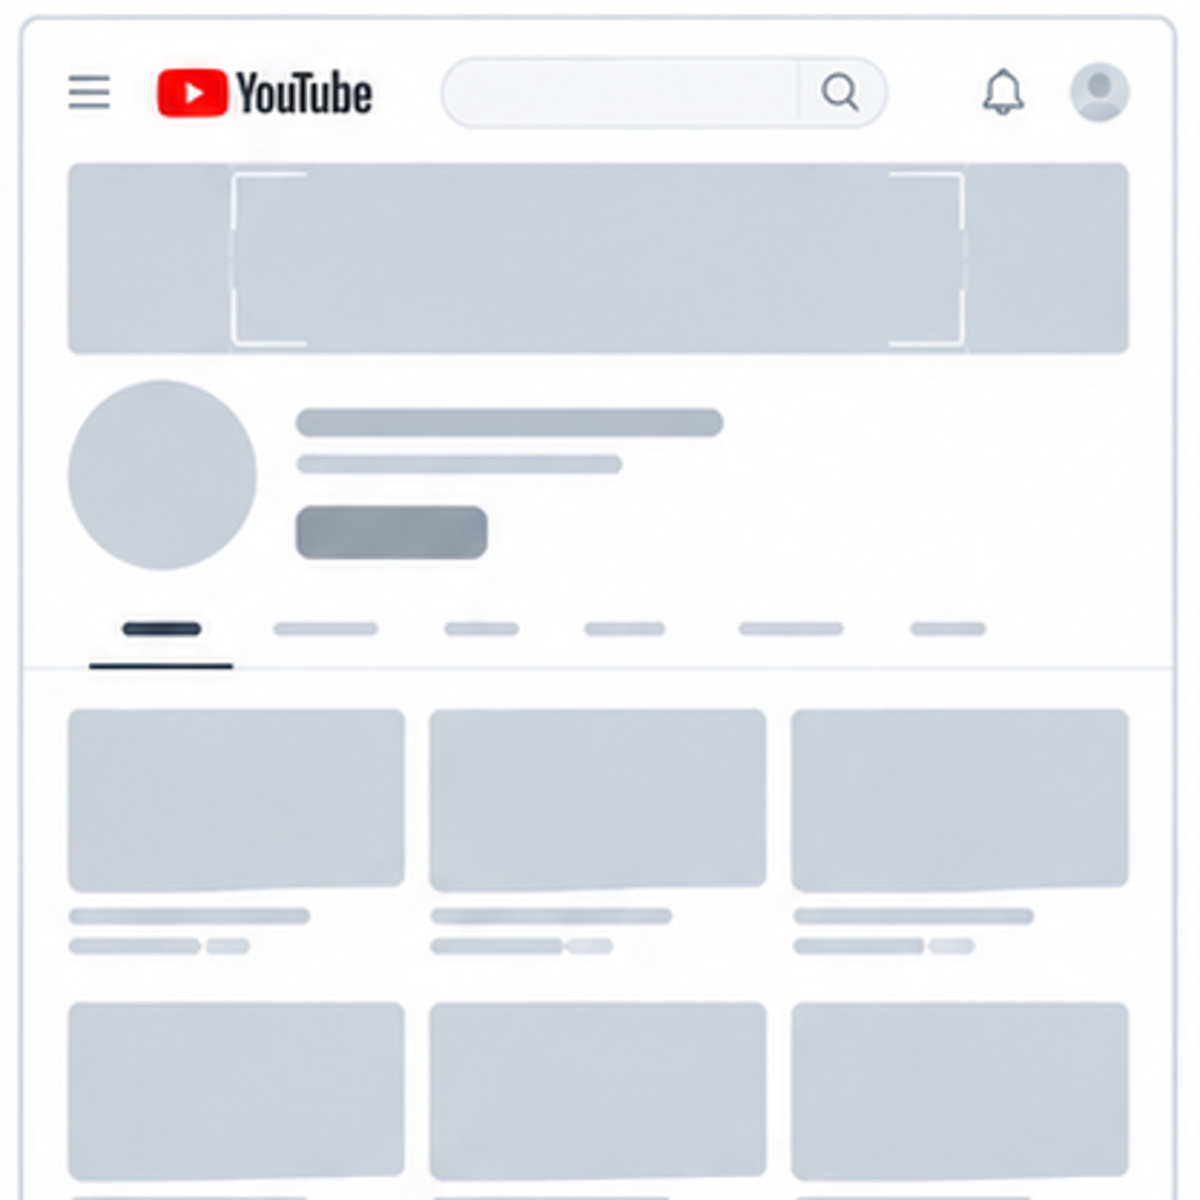
    YouTube Thumbnail & Banner Resizer

    16:99:161:1

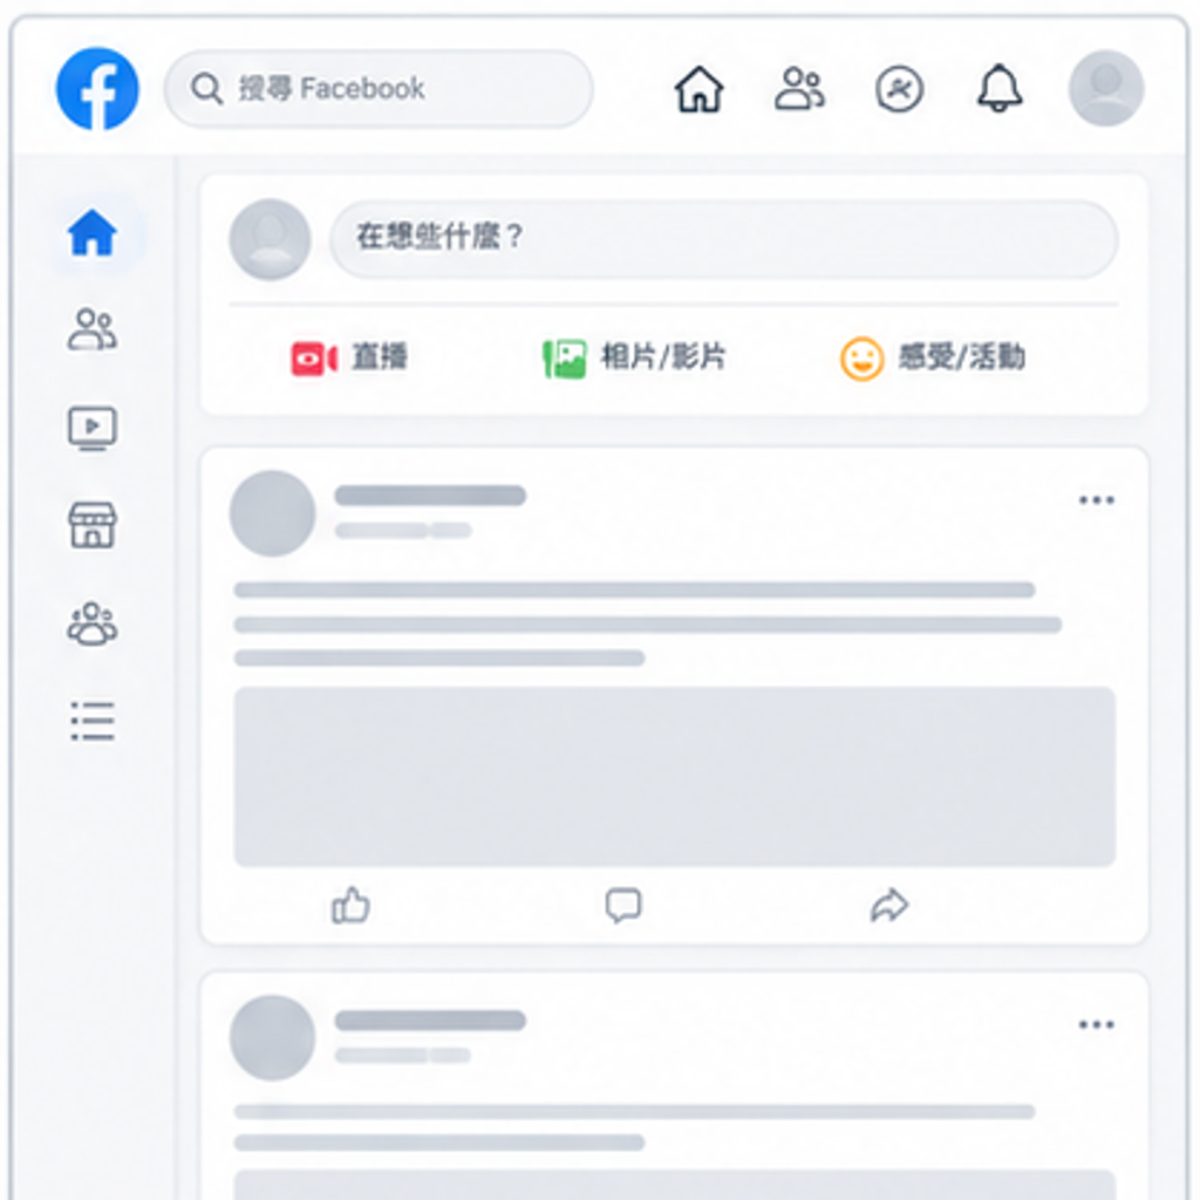
    Facebook Image Resizer

    4:316:91:12.6:11.92:11.91:11:22:1

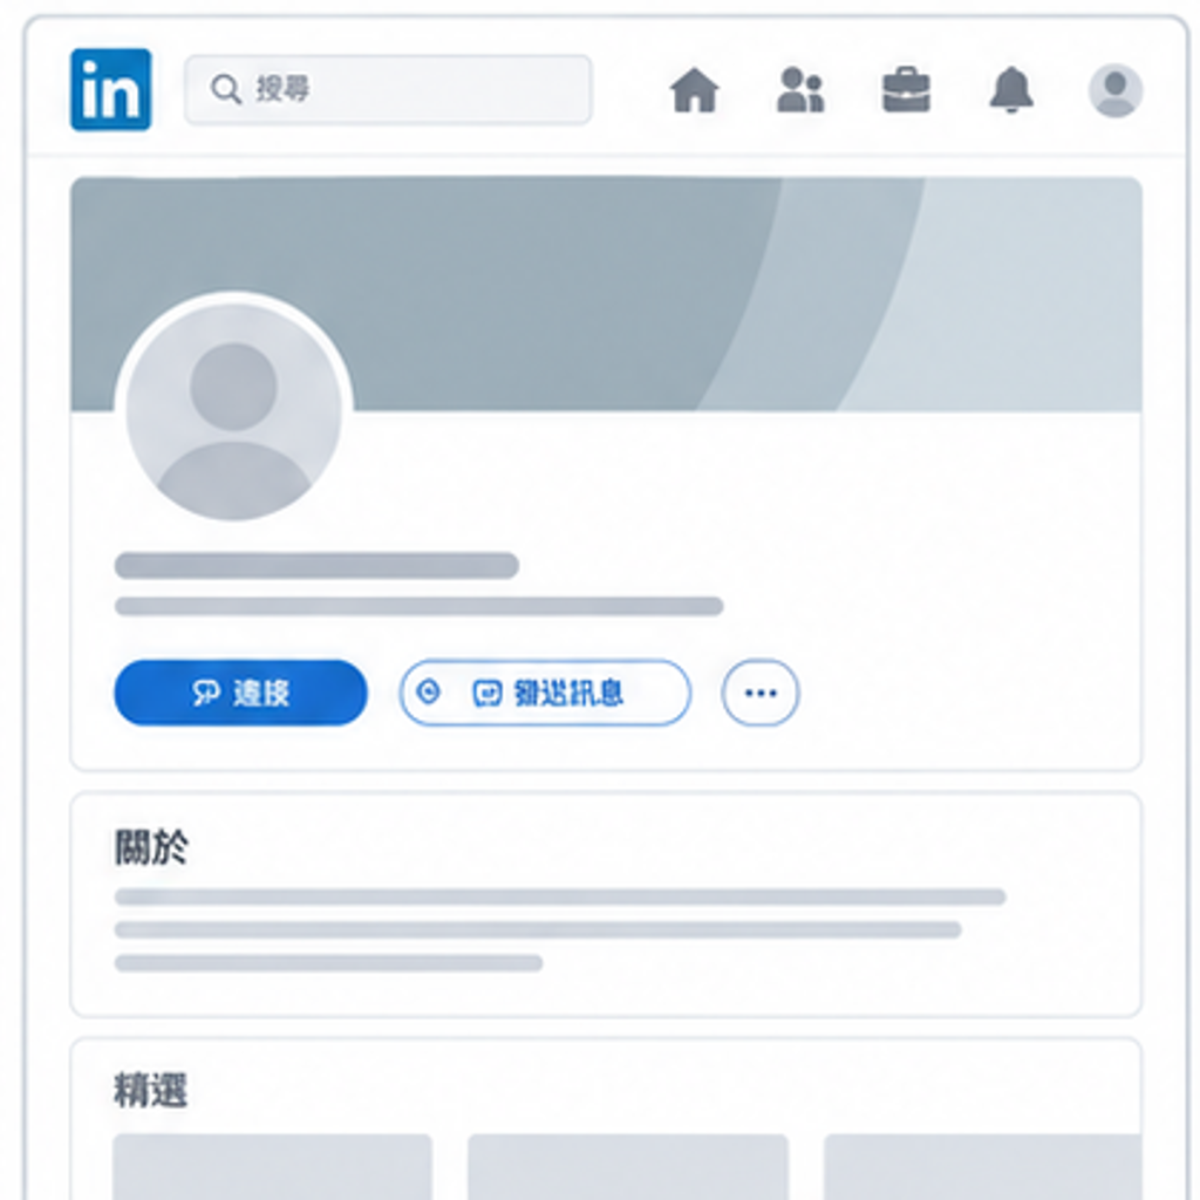
    LinkedIn Profile/Banner Resizer

    1:14:16:13:24:5

    Amazon Product Image Resizer

    1:1

    Shopify Product Image Resizer

    1:116:9

    Etsy Image Resizer

    1:11.7:17.6:17.5:14:12:14:3

    eBay Product Image Resizer

    1:14.41:116:9

    Rakuten Product Image Resizer

    1:15.14:15:23:1

    Mercari Product Image Resizer

    1:1

    Image Compressor

    Image Format Converter

    Image Watermark

    Add Border to Image

    Photo Collage Maker

    Blur Faces

    Blur License Plates

    Pixelate an Image Online – Free Image Pixelator

    Use GenApe’s AI tool to pixelate images and photos for free. Upload an image, adjust the mosaic pixel size, and preview the effect in real time. The tool works on computers, tablets, and phones, including iPhones. No sign-up or installation is required. Your image is processed on your device, and you can download the finished photo for free.

    How to Pixelate a Photo in 3 Steps

    With GenApe’s online image pixelator, you can add a mosaic effect to a photo in three steps, without installing photo-editing software.

    Upload the Image You Want to Pixelate

    Open GenApe’s image pixelator, click the upload area to choose a photo, or drag and drop an image onto the page.

    Choose a Mosaic Shape and Select an Area

    Choose a square or round mosaic shape, then select the part of the image you want to cover. You can add multiple mosaic areas to the same image, one at a time, without having to edit it separately for each area.

    Adjust Pixel Size and Download

    Use the “Pixel Size” setting to adjust the mosaic effect based on how much detail you need to hide. Then click “Apply and Download” to save your pixelated image to your device.

    Features of the Online Image Pixelator

    GenApe’s image pixelator lets you choose mosaic shapes, adjust pixel size, and preview changes in real time, making it easy to pixelate part of an image without complex photo-editing software.

    Switch Between Mosaic Shapes

    Choose a square or round mosaic shape to control exactly where the pixelated effect appears without changing the rest of the image unnecessarily. Square mosaics are useful for chat screenshots, addresses, and text, while round mosaics work well for individual objects and parts of a face.

    Preview the Mosaic Effect in Real Time

    The editing canvas updates as you make changes, so you can compare pixel sizes and see how much detail each setting hides. If you are unhappy with your last edit, use “Undo Last Step” to adjust it without uploading the original image again.

    Protect Privacy with 100% On-Device Processing

    GenApe processes images directly on your device. Pixelation takes place on your computer or phone, and your images are not uploaded to a server. You can cover selected details in private photos, chat screenshots, or images containing personal information directly in your browser.

    Download Pixelated Photos for Free

    GenApe lets you pixelate an image online for free, with no account registration or app installation required. Download your edited photo when you finish. It is useful whether you need to hide a detail once or regularly cover information before sharing images.

    When Should You Pixelate an Image?

    Pixelating photos is useful for more than hiding personal information. You can select different areas and adjust the mosaic effect to suit how you plan to use an image.

    A chat screenshot with selected messages pixelated, keeping the conversation you want to share visible while hiding other details.

    Chat Screenshots

    Chat screenshots may contain contact names, message histories, account details, or private conversations. By pixelating part of an image, you can keep the messages you want to share visible while reducing the risk of exposing other information.

    Square mosaic areas hide sensitive fields in an order or document photo while leaving relevant details visible.

    Order and Document Photos

    Before sharing an image, use a square mosaic area to cover sensitive fields while keeping the information others need to see visible. This works for online orders, shipping screenshots, and document photos containing names, phone numbers, addresses, or order numbers.

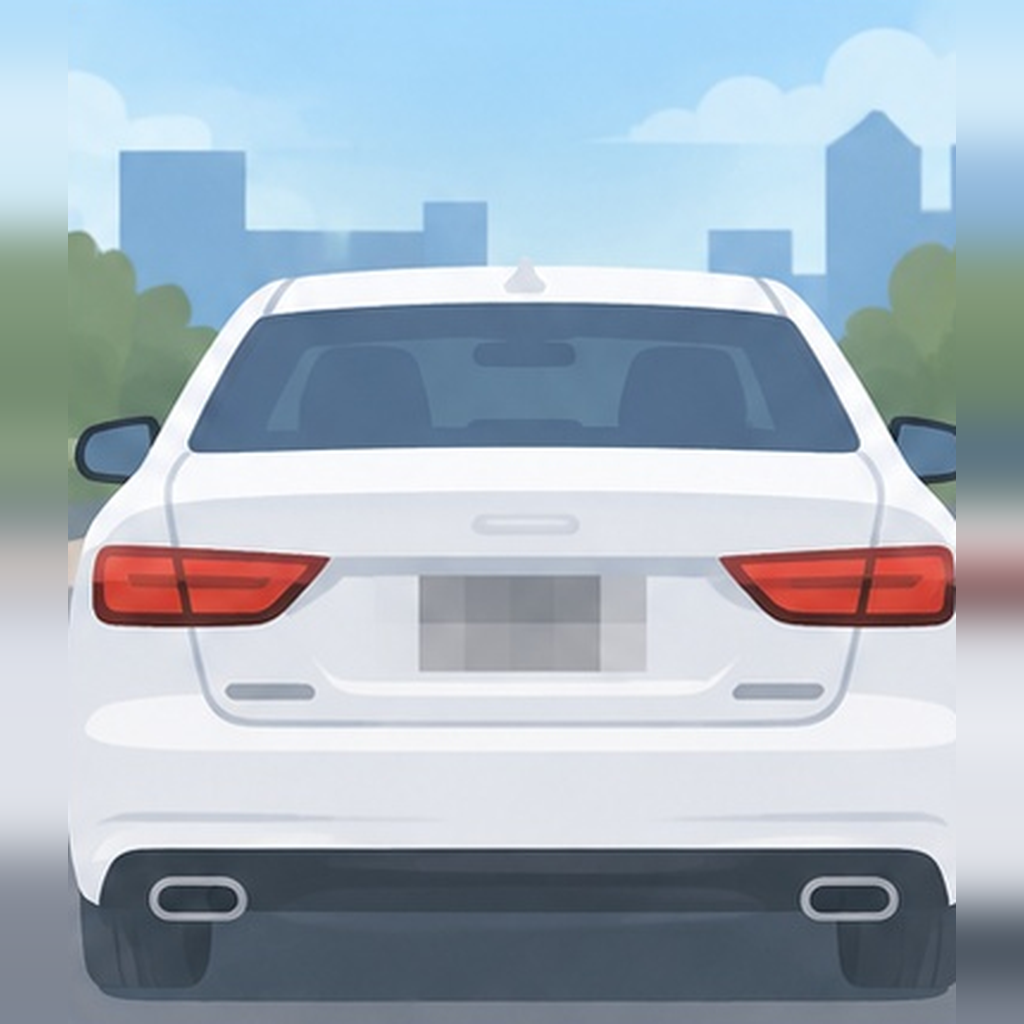
    Pixelated environmental details and a blurred license plate help conceal location clues in a photo.

    Protecting Location Privacy

    Travel, home, and everyday photos can reveal your location through house numbers, street signs, or addresses. Pixelate those areas or use GenApe’s license plate blur tool to cover details that could reveal where a photo was taken.

    Pixelation over part of a face or a face blur tool helps hide selected facial expressions and details.

    Hiding Facial Expressions

    When sharing group photos from gatherings, events, or everyday moments, you may not want someone’s expression or facial details to be clearly visible. Apply a mosaic effect to the area you choose, or use GenApe’s face blur tool to make identifying features less recognizable.

    A simple pixel art effect created by adjusting the size of mosaic pixels.

    Simple Pixel Art Effects

    Beyond hiding information, changing pixel size alters the blocky appearance of a mosaic and creates different pixelated effects. You can also use GenApe’s pixel art generator to give selected subjects a retro video game look.

    Tips for Pixelating Images Safely

    When you pixelate an image online, check the selected area, pixel size, and final downloaded image. These steps can help you protect private information while preserving the appearance of the rest of your photo.

    1.

    Extend the Mosaic Beyond Sensitive Details

    When applying a mosaic effect, extend the selected area slightly past the edges of sensitive information so letters, numbers, or other details are not left visible. For example, when hiding a name or phone number in a chat screenshot, cover the entire line rather than just the middle of the text.

    2.

    Match Pixel Size to the Image

    Pixel size changes how the mosaic looks. With smaller pixel blocks, parts of letters or object outlines may still be recognizable; larger blocks make details in the selected area harder to identify. Adjust the setting for your needs. To keep the rest of the photo looking natural, apply pixelation only where needed and choose a block size that suits the image.

    3.

    Check Your Image After Downloading

    After pixelating your photo, open the downloaded file and check that every area you intended to hide is fully covered. Pay particular attention to text edges, account details, and anything else that may remain recognizable. Pixelation only reduces the visibility of the selected area; it does not guarantee that information cannot be inferred. For highly sensitive details such as passwords or complete ID numbers, consider removing the information or covering it completely.

    Frequently Asked Questions About Pixelating Photos

    Pixelation turns selected parts of an image into visible pixel blocks, reducing fine details. Blurring uses a smoothing effect to make lines, text, or objects look less sharp. Both can make image information harder to recognize, but they produce different visual effects. GenApe’s mosaic tool pixelates square or round areas of an image.

    A mosaic effect is a type of pixelation, so both use the same basic visual principle. The main difference is how they are used: mosaics often hide specific information, while pixelation can also create an artistic style, such as retro pixel art. GenApe’s image pixelator is mainly designed to pixelate selected areas, not to automatically turn an entire image into AI-generated pixel art.

    Possibly. A mosaic effect reduces the clarity of the selected area, but how well it hides information depends on pixel size, the original content, and the size of the selection. If the blocks are too small, parts of letters or patterns may still be identifiable or inferred. Do not rely on light pixelation to protect important information, and check the result after downloading.

    Yes. GenApe’s image pixelator includes an “Undo Last Step” option. If you select the wrong area or are unhappy with the last edit, you can undo it and make another selection. You can also use “Clear All” to remove your edits and start over.

    Yes. GenApe lets you add several mosaic areas to the same image. You can separately cover chat messages, account details, addresses, or other information without reuploading the photo for each area. Once all areas are edited, download the image. This feature applies to multiple areas within a single image; it does not mean you can batch-process multiple images.

    GenApe’s image pixelator applies the effect only to the selected areas, leaving the quality of untouched parts of the image unchanged. Details within the pixelated areas are reduced according to your settings, while the rest of the photo retains its original clarity. To balance privacy and appearance, select only the parts you need to cover.

    Common examples include chat screenshots, order images, social media photos, and document photos containing personal information. You might hide names in a conversation, phone numbers or addresses in an order, or details you do not want to share in a photo. For highly sensitive information such as passwords, ID numbers, or financial account details, removing the information completely or not sharing the original image is generally safer than pixelation alone.

    Assistant
    LineButton