


Upload image & compression settings
Click or drag to add an image
Other cropping tools
IG Post/Story Resize
Threads Post Image
Shopee Main/Product Image

2-Inch ID Photo
Passport Photo

Resume Photo
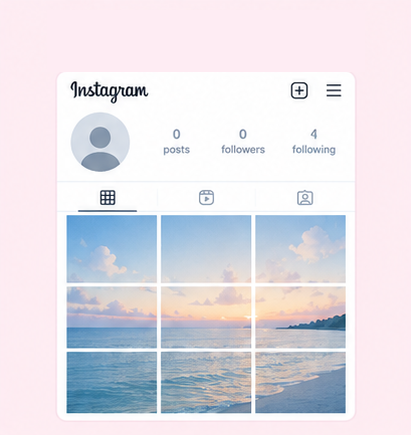
IG Grid Maker
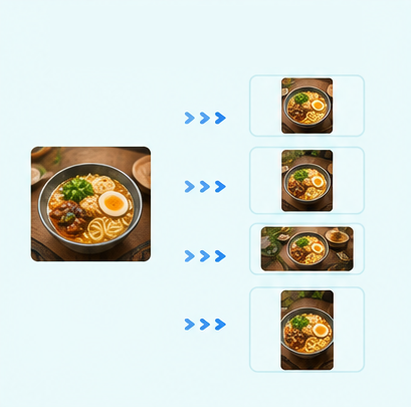
Multi-Platform Resizer
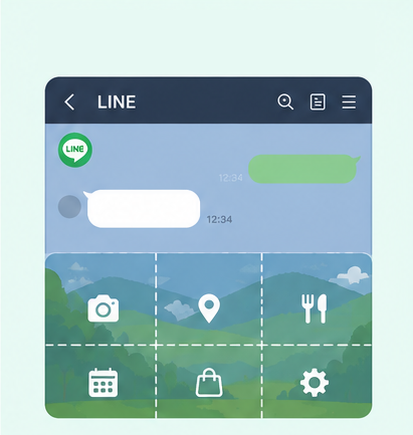
LINE Rich Menu
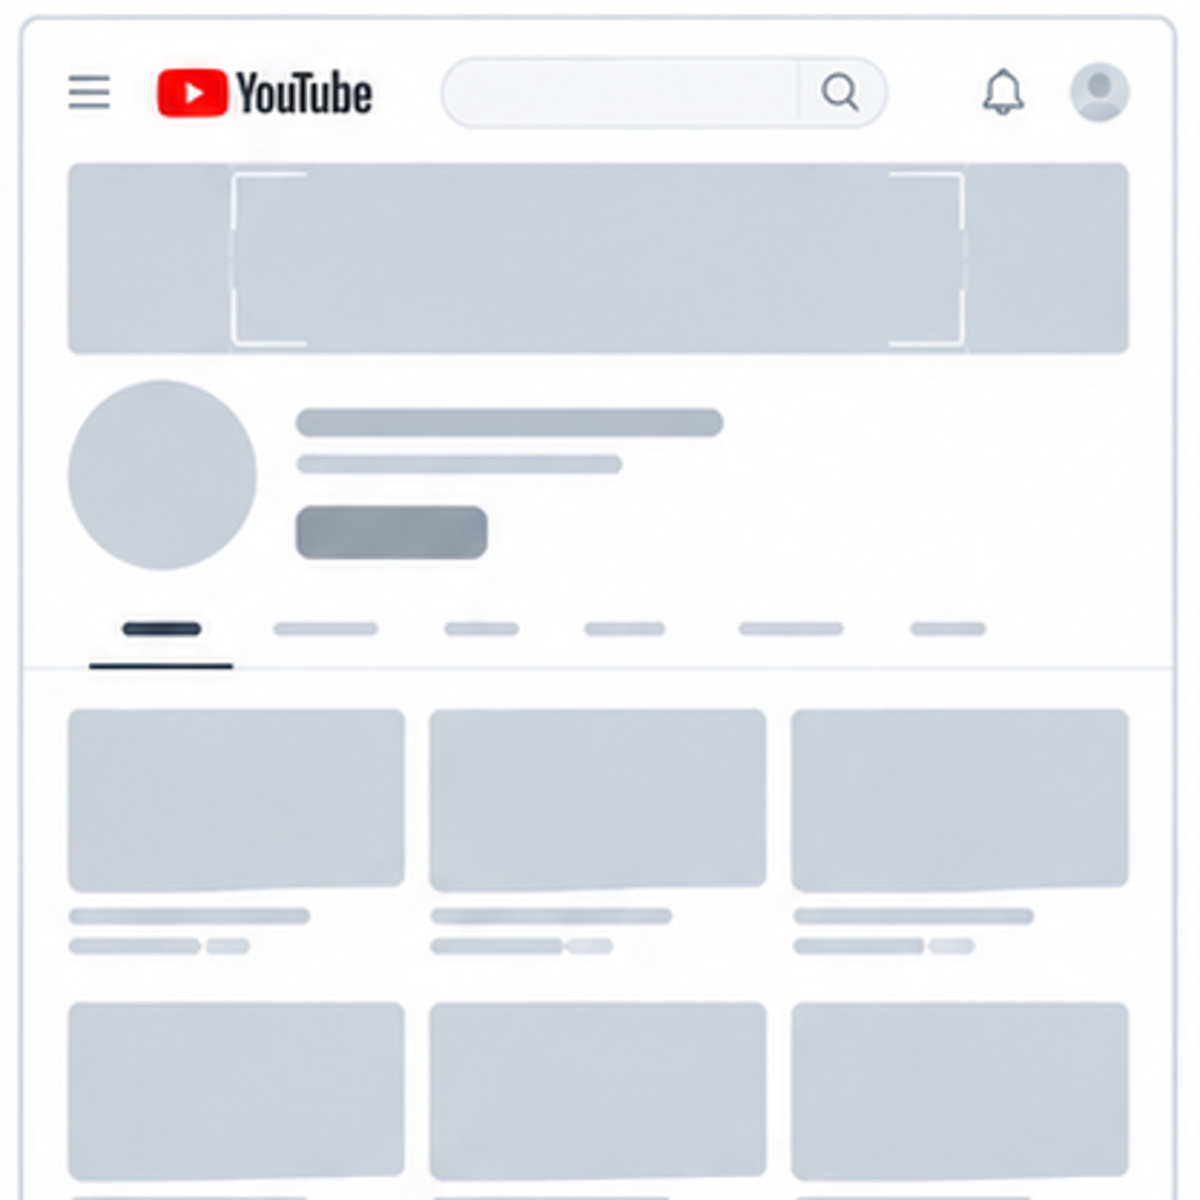
YouTube Thumbnail & Banner Resizer
Facebook Image Resizer
LinkedIn Profile/Banner Resizer
Amazon Product Image Resizer
Shopify Product Image Resizer
Etsy Image Resizer
eBay Product Image Resizer
Rakuten Product Image Resizer
Mercari Product Image Resizer
Image Format Converter

Image Watermark
Add Border to Image
Photo Collage Maker

Image Mosaic

Blur Faces
Blur License Plates
Image Compressor – Compress JPG Photos Online
Is your photo file too large to upload to a form or send as an attachment? GenApe offers an online image compressor for JPG and JPEG files. After signing up and logging in, choose 90%, 75%, or 55% quality to reduce the photo file size and download the result. GenApe’s free tools work in desktop and mobile browsers. Compress one image at a time and choose the quality setting that suits your needs.
How to Choose JPG Compression Quality
GenApe offers three JPG compression quality settings. Higher values generally preserve more image detail, while lower values generally increase compression but may cause more noticeable changes in image quality.
90% Quality: Prioritize Image Detail
Choose 90% quality if your photo contains product textures, strands of hair, or text that needs to remain readable. This option is suitable when you want to reduce JPG file size while prioritizing details. After downloading, zoom in to check text edges, textures, and color gradients, then see whether the file meets your size requirements. If it is still too large, try a lower quality setting.
75% Quality: Balance Image Quality and File Size
75% quality is a useful starting point for website images, everyday photos, and email attachments. If you are not sure how much to compress a photo, try this setting first and adjust based on the downloaded result. Along with checking the smaller file size, view the image at the size it will actually be displayed to make sure the subject, text, and important information remain clear.
55% Quality: Reduce File Size Further
If your photo file is still too large after using a higher quality setting, try 55% quality to reduce its size further. However, fine details, small text, and complex backgrounds may become blurry or show blocky artifacts. Keep the original photo and check the clarity of the downloaded image.

How to Compress JPG Photos Online with GenApe
There is no need to install separate image compression software. Use GenApe directly in your browser. Prepare a JPG or JPEG image, then follow these steps to compress your photo.
Choose an Image
Sign up and log in to your account, then select the image you want to process. The tool supports one JPG image per operation.
Select Compression Quality
Select 90%, 75%, or 55% quality based on how you plan to use the image, then start processing. Choose 90% to preserve more detail, try 75% for general sharing, or consider 55% when file size limits are stricter. GenApe currently controls compression through quality presets and does not let you specify a target size in KB or MB, so check the actual file size afterward.
Download the Image
Once processing is complete, download the image to your device, check the file size, and open it to inspect the image quality.
Image Compression vs. Resizing: What Is the Difference?

Image compression: Reduces file size to lower storage and transfer requirements. File size is typically expressed in KB or MB.
Resizing: Changes the width and height of an image in pixels, such as reducing a 2000 × 2000px image to 1000 × 1000px.
What to check if an upload fails: Find out whether the website limits file size, pixel dimensions, or both, then choose the appropriate method.
File Size Uses KB and MB; Image Dimensions Use Pixels
- File size is measured in KB or MB: This indicates how much storage space a file occupies, such as a photo that is 4MB.
- Image dimensions are measured in pixels: These indicate an image’s width and height, such as 1200 × 1200px.
- Images with the same pixel dimensions can have different file sizes: Two JPG files with identical dimensions may differ in size because of quality settings, image detail, or encoding methods.
- Compressing a photo does not necessarily mean reducing its dimensions: To determine whether a photo meets an upload size limit, check its actual size in KB or MB rather than relying only on its resolution.
Check Whether the Website Requires Compression or Resizing
If a website says a file “must not exceed 2MB,” check its file size. If it requires “1024 × 1024px” or a “1:1 aspect ratio,” you need to adjust the image dimensions or composition. For example, when preparing Shopee product images, check the required aspect ratio, pixel dimensions, and file size separately. If all three are specified, adjust the dimensions and composition first, compress the JPG next, and then verify that the image meets every upload requirement.
Image Compression FAQs
If the file still exceeds the upload limit after using 90% or 75% quality, start again with the original image and try 55% quality. If it remains too large, use a separate image resizing tool to reduce the pixel dimensions while meeting the website’s minimum width and height requirements, then compress it again. Check both file size and clarity after each attempt so that important information remains readable.
Go back to the original image and compress it again at a higher quality setting, such as changing from 55% to 75% or 90%. Simply saving an already blurry compressed file at higher quality will not restore lost details. If the original image is unclear, find a sharper source. For images with small text, carefully check whether letters and numbers are still legible.
A compressed JPG generally cannot fully recover the original detail lost through lossy compression. Increasing the quality setting or enlarging the image does not restore the original image quality. If you need a clearer version, the most reliable option is to export it again from the saved original file. Keep the original and compressed versions separately to avoid overwriting your only original photo.
Open GenApe in your mobile browser, sign up and log in, then select a photo, choose a quality setting, and download the result. You can process one image at a time. The tool currently supports JPG and JPEG, but not direct compression of PNG, WebP, or HEIC files. If you cannot select or process a phone photo, check its actual file format. In particular, iPhone photos may use HEIC and must be converted to JPG first.
GenApe currently lets you choose 90%, 75%, or 55% quality, but does not allow you to specify an output size of 2MB. For example, you can try 75% or 55% quality for a 4MB JPG, but the result is not guaranteed to be around 2MB. Download it and check the actual size. Quality percentages are not proportional to file size, and different images can produce different results even when their original file sizes are the same.

